This page provides instructions on how to open your first REBATE ONE cashback-eligible account with Exness.
At Exness, you can create multiple accounts under a single person by providing a new email address.
If you are creating an Exness account with a new email address, please visit this page.
How Exness Accounts Work
Exness operates on a system where your registered email address serves as your account.
Within your account, you can create multiple trading accounts tailored to specific purposes (such as currency pairs, scalping, or swing trading).
Since it’s easy to transfer funds between accounts you’ve created, if you open a REBATE ONE exness (Exness) cashback-eligible account, you can create and set up a dedicated cashback account at
. This allows you to manage your cashback and ensures it isn’t credited to the account you’re actively trading with—eliminating the risk of losing it.
Does Exness not have a Japanese-language page?
The initial account opening page for Exness does not offer a Japanese language option.
Please rest assured that after you open an account, you’ll see options for Japanese language display.

Documents Required to Open an Account
There is no need to send anything by mail to create an Exness account; the entire account opening process is completed online.
You will need an email address and a phone number to create an account (phone number verification is required).
You will also need one form of identification and one form of proof of address, as listed below.
Identification documents (valid)
* Passport
* My Number Card
* Driver's License
Proof of address (issued within the past 6 months)
* Utility bills/receipts
* Internet, cable TV, and phone bills/receipts
* Bank balance certificates
Opening an Exness Cashback Account
まずは以下のリンクボタンを押し、exness(エクスネス)の口座開設ページを開きます。
If the button doesn't work, you can also open an account on the official Exness website.
画面右上にある黄色の「Register」を押します。

"Country/Region of Residence"
"Your email address"
Set "Password=Password." The password must be 8 to 15 characters long and include uppercase letters and symbols.

「パートナーコード(任意)」の欄には、REBATE ONEのパートナーコード「1043190516128160226」を入力してください。
By entering this partner code, your account will be recognized as eligible for REBATE ONE cashback.
The statement “I declare and confirm that I am not a citizen or resident of the U.S. for tax purposes” is a declaration by the registrant that they are not a U.S. citizen or resident subject to U.S. tax obligations. If this applies to you, check the box and click “Continue.”
If you click "Continue," the screen will change to this one, but you can close it if you like.

A verification email will be sent to the email address you entered initially.

Click the yellow "Open a trading account" link in the text to complete the email verification.
To verify your email, simply click the yellow "Open a trading account" button. Once that's done, you'll be able to log in to your account.
Once you've logged in, click the globe icon in the upper-right corner to select Japanese, and you'll be able to use the site in Japanese from that point on.

Entering Personal Information
Please enter your personal information and complete the verification process so that you can use all of Exness's account features.
Click "Complete Profile" in the upper-right corner of the screen.

When you click the "Complete Profile" button, the "Verify Contact Information" screen will appear; click the yellow "Get Started" button.
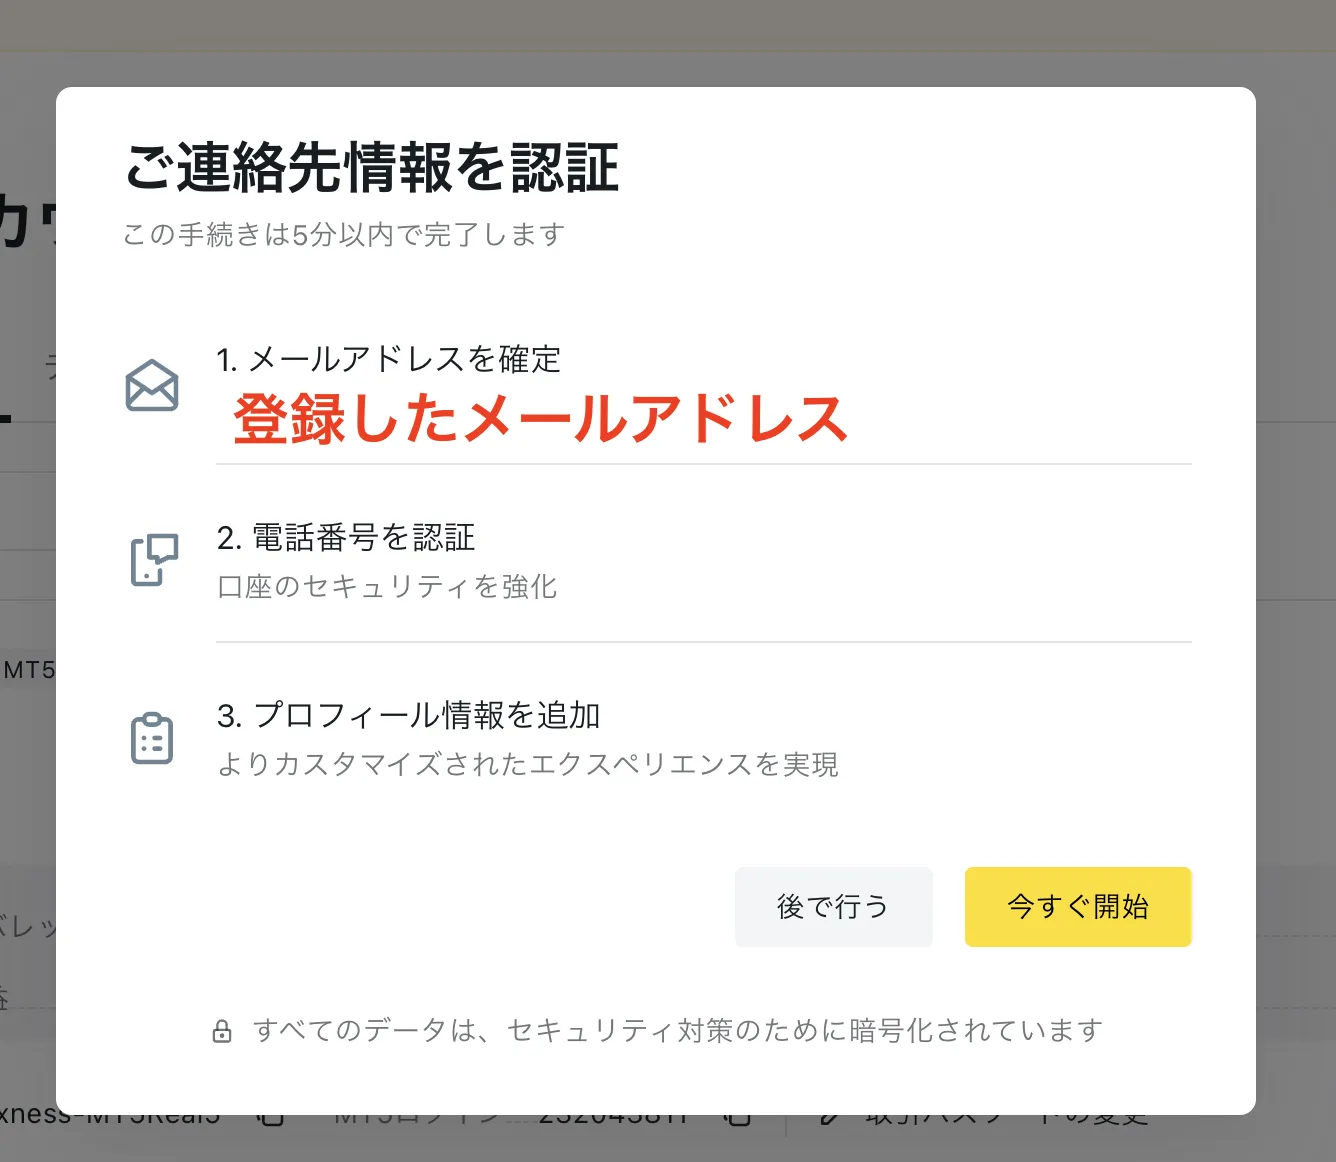
When you click "Get Started," the screen will change to one where you can enter a 6-digit verification code.

You will receive an email containing a 6-digit code at the email address you registered.

Enter the code provided in the email to complete the process.
Once it's complete, a green check mark will appear on the right to indicate completion.

Next, we'll perform verification using your phone number.
Select the country where the cell phone that will receive the SMS is located, and enter the phone number.
If you are using a cell phone with a contract in Japan, omit the leading “0” when entering the number.
090-△△△△-×××× → 90-△△△△-××××

When you click "Continue," you'll receive a 6-digit verification code via SMS, just like with email. Enter it to complete the process.

Once phone number verification is complete, you can add your profile information.
Enter your "first name," "last name," "date of birth," "current address," and "gender," then click "Continue."

There are several questions, such as “Purpose of opening the account,” “Source of income,” and “Planned financial products to trade after opening the account.”
Select the option that best fits your current situation, answer the question, and finish.

Once you've answered all the questions, the message "Done!" will appear.

If you complete identity verification (by uploading the required documents) within 30 days, you will be able to make deposits and trade from this status; however, since there are some restrictions on account usage, we recommend that you complete the identity verification process now.
Verify your identity
We will now proceed to upload the required documents.
Select the “Country/Region of Issuance” for your “Identification Document” and the “Identification Document” you are submitting.

Upload the selected form of identification and click "Submit Documents."
Next, upload your proof of address.
Upload the required documents and click “Submit Documents.”
This completes the Exness registration and verification process.
How to Create an Additional Account Within Your Account
When you first open an Exness account, a Standard MT5 trading account is created.
This account uses USD as its base currency and has 200x leverage.
To use features such as changing your leverage, checking your account information, viewing your earnings, or archiving unused accounts, tap the three dots on the right.

To add an Exness Pro Zero Spread account, click "Open a New Account" in the upper-right corner.

Select the account type you want to open, then choose the currency and leverage.

Select your preferred account, such as leverage or currency.
Set your account password, click "Open Account," and your account will be set up.
Let's apply for an account so you can get your cashback!
Once you've created an account eligible for cashback, the next step is to apply for an account to receive the cashback.
If you do not submit this application, you will not be able to receive your cashback even if you have gone to the trouble of opening a cashback-eligible account, so please be sure to do so.
Final Step >> Request a Cashback Receiving Account